<div id="div-nav-links">
    <ul id="ul-nav-links">
        <li id="search-link">Search</li> <!-- lesson 05 -->
        <li>|</li>
        <li id="sage-link">Sage</li>  <!-- lesson 06 -->
        <li>|</li>
        <li id="liveboard-link">Liveboard</li>  <!-- lesson 07 -->
        <li>|</li>
        <li id="liveboard-viz-link">Visualization</li>  <!-- lesson 08 -->
    </ul>
</div>Embed a Liveboard visualization
Pre-conditions🔗
It’s ideal if you’ve done all the lessons so far. Ensure that you have set up the environment and code, and have the init method working as described in lesson 05.
Add a nav link and function for the Liveboard visualization🔗
In the index.html file add a new <li> for the separator and Liveboard visualization. Your code should look like the following. The links need to have an ID to add a listener.
Now run the application, and you should see the new links. It doesn’t do anything yet, but it’s always good to test code as we add functionality to find errors quickly. The UI could use some style work to make it easier to read, but this layout is sufficient to learn ThoughtSpot Embedded.

Add a listener for the Liveboard links🔗
In tse.js add the following line of code. It adds a listener for the click events, so when the user clicks, it will call the onVisualization function. Go ahead and add this line after the one we added for the liveboard-link.
document.getElementById('liveboard-viz-link').addEventListener('click', onVisualization);Now we have to add the function to get called. After the close of the onLiveboard function, add the following function. Right now, it only shows a comment in the console, but that will tell you that it’s being called.
const onVisualization = () => {
  console.log('visualization clicked');
}
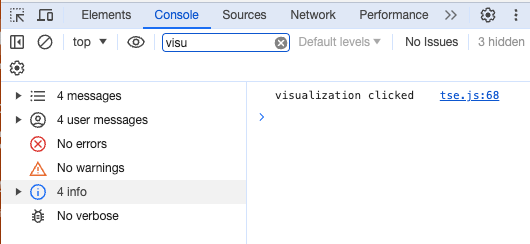
Refresh the application and click on each link. You should see a message in the console window of the developer tools. If not, check for errors. You can also reference the example code (in the src folder).

The Liveboard visualization uses the same LiveboardEmbed we used in the previous lesson, so no additional import is required.
Generate a Liveboard visualization to embed🔗
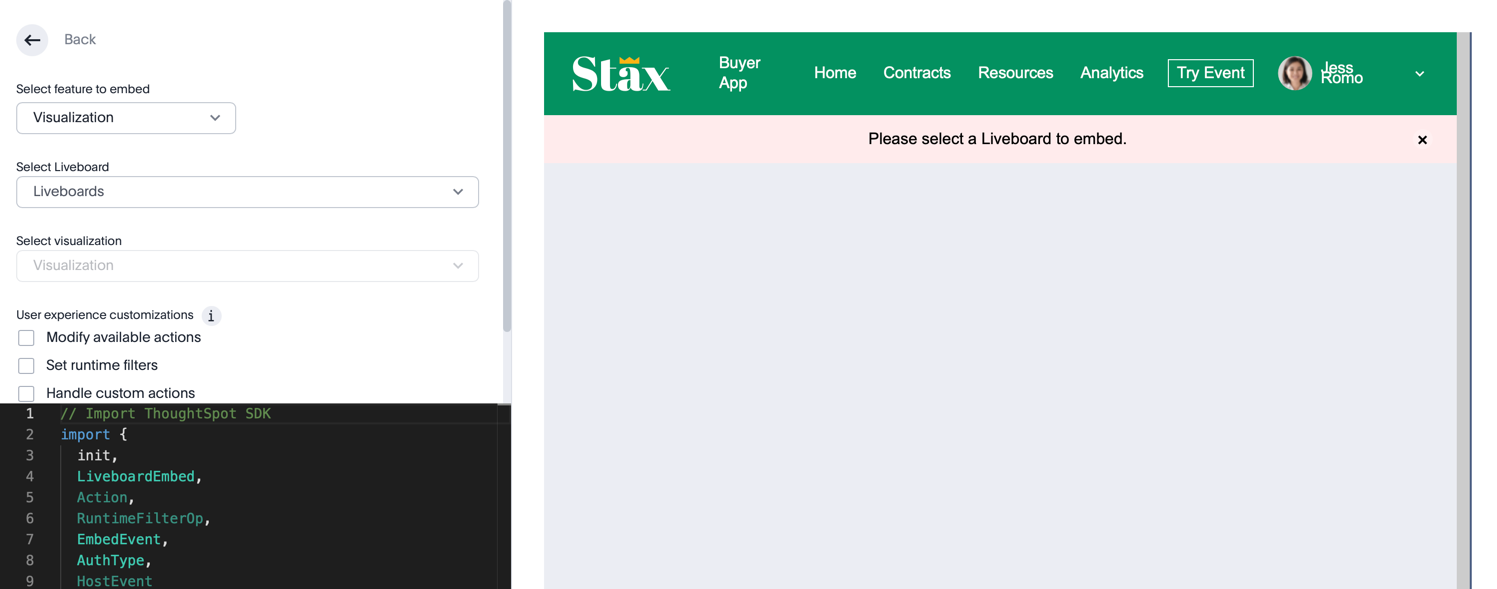
Navigate to the Visual Embed SDK playground and select Liveboard from the dropdown on the top left. As with the Liveboard, you will be prompted to select a Liveboard and visualization.

Since this uses the same LiveboardEmbed component, it has the same options as the Liveboard except the Full Height option is not available. While you can set the full height flag, it will be ignored.
-
Select a Liveboard from the dropdown
You will see aliveboardIdadded to the code. -
Click Run.
You should see the full Liveboard show up in the right-hand panel. That’s because we are using theLiveboardEmbedcomponent and haven’t selected the visualization yet. -
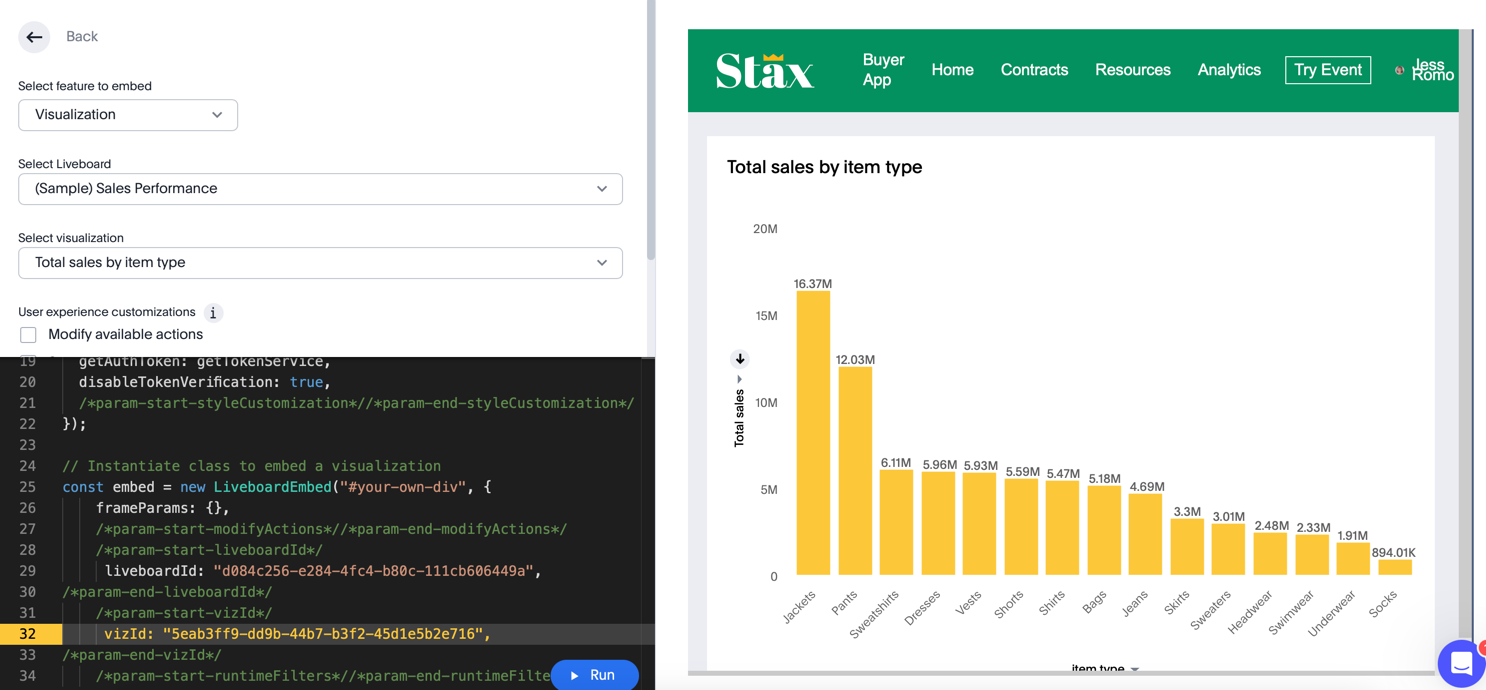
Select a visualization from the dropdown.
This dropdown only shows the visualizations for the selected Liveboard. -
Click Run
You should see just the one visualization and none of the other Liveboard artifacts, such as the header.

Embed the Liveboard visualization into the application🔗
As with the previous embeds, we’ll just copy the code from the playground into the application. Copy the component creation section. Paste this code into the onVisualization function. Then update the embed ID and add the call to render. The following shows the complete function with comments removed.
const onVisualization = () => {
  const embed = new LiveboardEmbed("#embed", {
    frameParams: {},
    liveboardId: "0dc92611-2643-4c3e-a7c3-e7e421af9fd1",
    vizId: "9bf48c6e-4d2a-4817-9417-e62c0cff184d",
  });

  embed.render();
};
Test the Liveboard visualization embed🔗
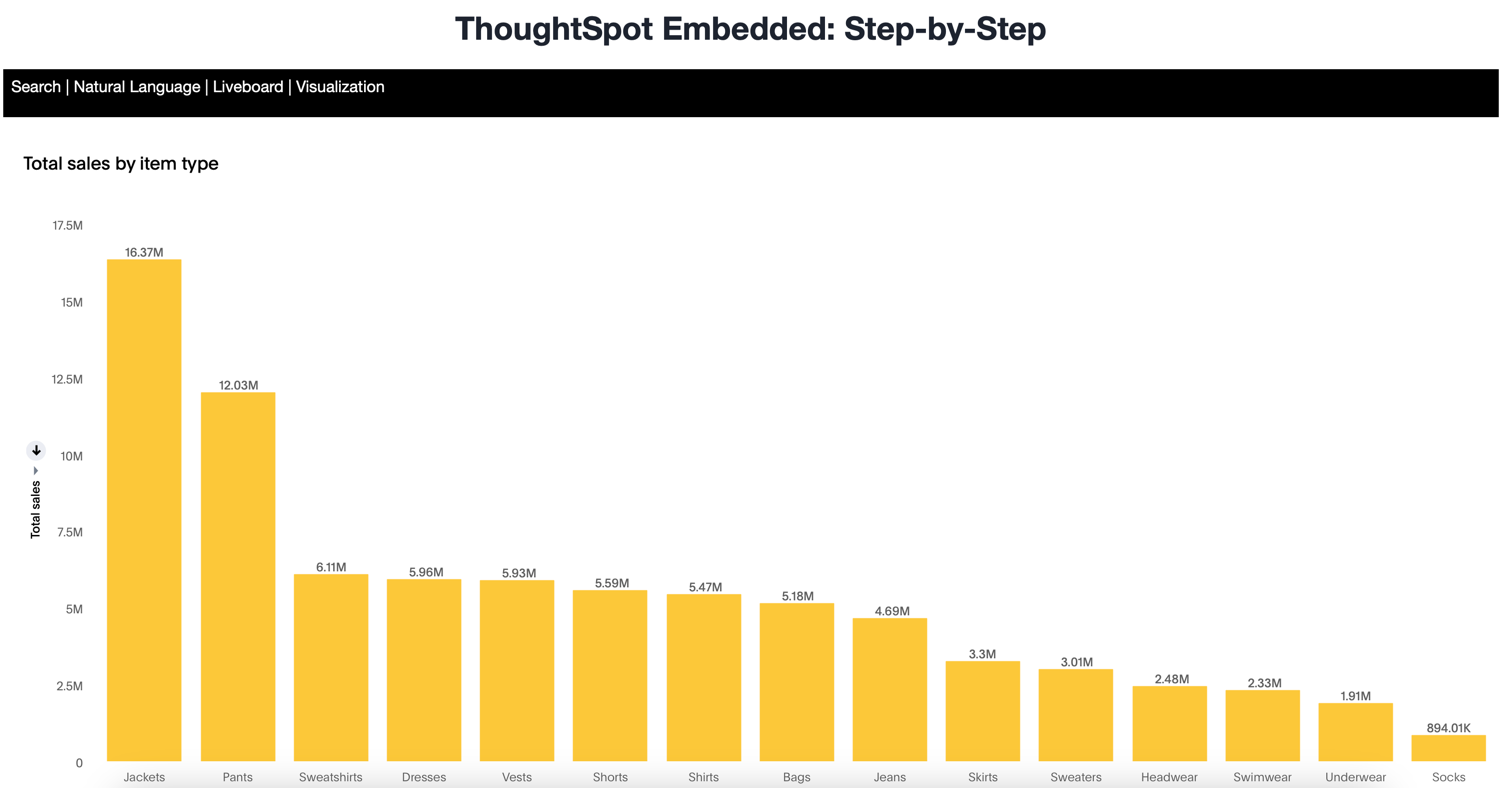
The last step is to test the embedded Liveboard. Refresh the application (with cache disabled), and then click the Visualization link. Your page should look like the following:

Activities🔗
-
Add the nav link and handler to your code
-
Use the Playground to create the visualization embed
-
Copy and paste the generated code (adding
render()) into your application -
Test the code
If you run into problems, you can look at the code in the src folder in this section.