<div id="div-nav-links">
    <ul id="ul-nav-links">
        <li id="search-link">Search</li> <!-- lesson 05 -->
        <li>|</li>
        <li id="sage-link">Sage</li>  <!-- lesson 06 -->
        <li>|</li>
        <li id="liveboard-link">Liveboard</li>  <!-- lesson 07 -->
        <li>|</li>
        <li id="liveboard-viz-link">Visualization</li>  <!-- lesson 08 -->
        <li>|</li>
        <li id="full-app-link">Application</li>  <!-- lesson 09 -->
    </ul>
</div>Embed the full ThoughtSpot application
Pre-conditions🔗
It’s ideal if you’ve done all the lessons so far. Ensure that you have set up the environment and code, and have the init method working as described in lesson 05.
Add a nav link and function for the full app🔗
First, we want to add nav links to the nav bar.
In the index.html file add a new <li> for the application.
Your code should look like the following.
The link needs to have an ID to add a listener.
Run the application, and you should see the new link. It only adds the link to the navigation bar, but we know it’s showing up.

Add a listener for the application links🔗
In tse.js, add the following line of code. This code adds a listener for the click events, so when the user clicks, it will call the onApplication function.
-
Add this line after the one added for the
visualization-link.document .getElementById("full-app-link") .addEventListener("click", onApplication); -
Add the function to get called.
-
After the close of the
onVisualizationfunction, add the following function.
Right now it only shows a comment in the console, but that will tell you that it’s being called.const onApplication = () => { console.log('application clicked'); } -
Refresh the application and click on the Application link.
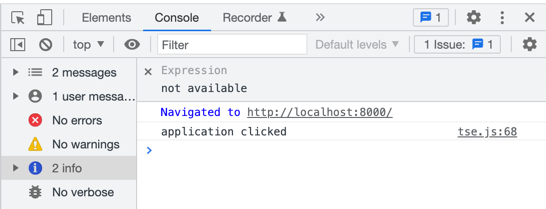
You should see a message in the console window of the developer tools. If not, check for errors. You can also reference the example code (in thesrcfolder).
Add the AppEmbed to the import🔗
In order to use the AppEmbed component, we need to import it.
At the top of the file, add AppEmbed to the list of components.
We are also going to use the enumerated type Page, so add that.
This type will be described below.
You should now have an import like the following:
import {
  init,
  Action,
  AppEmbed,
  AuthType,
  LiveboardEmbed,
  Page,
  SearchEmbed,
  SageEmbed,
} from "https://unpkg.com/@thoughtspot/visual-embed-sdk/dist/tsembed.es.js";
Generate an application embed🔗
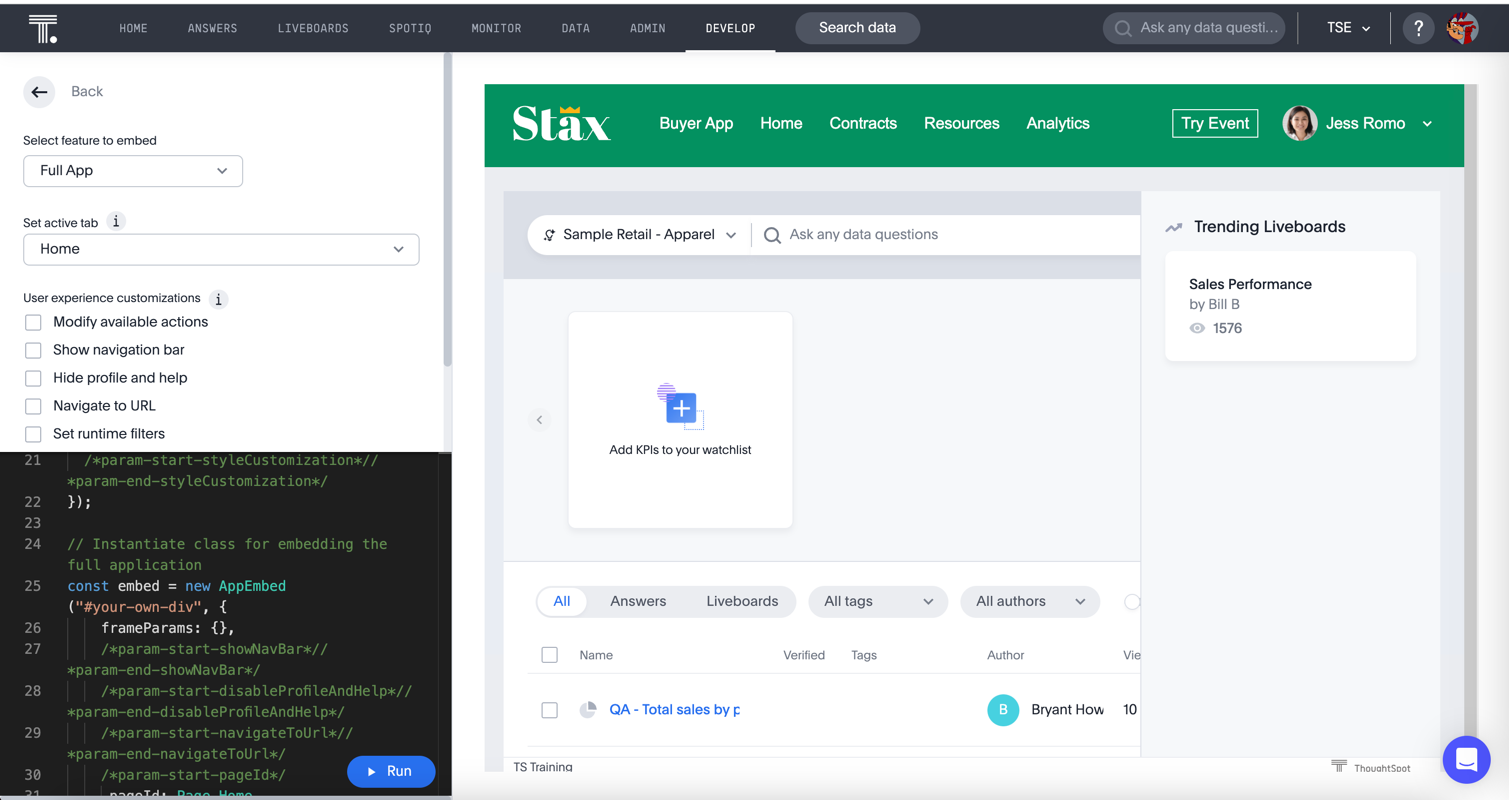
The same way you created other components in the playground, we’ll create an app embed. Navigate to the visual embed SDK playground and select Full App from the dropdown on the top left. You should see something like the following. By default, the Home page is shown.

The AppEmbed has a number of different options, some that you’ve seen in other components and some that are AppEmbed specific.
The following are each of the application options and what they are used for:
-
Set active tab.
You can set this value from the dropdown to start on any of the main pages in the UI. These are equated to the Page.xxx enumerated values. -
Modify available actions
This option is the same as for other Embed objects and lets you control what is displayed. The difference is that it applies across all pages. -
Show navigation bar
By default, the top navigation bar is not displayed. This means that you will need to provide your own navigation. If you want to just easily embed with navigation check this box, which setsshowPrimaryNavbar: true. -
Hide profile and help
When the navigation bar is displayed, it will also show the Help and Profile by default. You can disable this by settingdisableProfileAndHelp: true. -
Navigate to URL
This feature is used instead of thepageIdparameter to navigate to any specific page in the application. This is mostly used to navigate to specific SpotIQ analysis, which don’t have their own embed object. -
Set runtime filters
As with Liveboards and Visualizations, you can set the runtime filters. This setting will impact any Liveboard that is shown on the Liveboards page. Note that it’s based on the column name, so it may not make sense. -
Handle custom action
This option allows you to handle custom actions, which we will explore in a future lesson.
Let’s create the full app component to embed. In this case, we’re just going to embed the Home page with no navigation bar.
Select Full App and you should have Home already pre-selected. No additional changes are required.
Embed ThoughtSpot into the application🔗
To complete embedding:
-
Copy the code into the application.
-
Copy the component creation section.
Your code will look like the following:const embed = new AppEmbed("#embed", { frameParams: {}, pageId: Page.Home, });Paste this code into theonApplicationfunction.You don’t actually need the
frameParamsparameter, so that means you can embed ThoughtSpot with only three lines of code. -
Render the component.
Failure to add this step results in an empty embed area.
embed.render();The completed onApplication should look something like the following.
const onApplication = () => {
const embed = new AppEmbed("#embed", {
  frameParams: {},
  pageId: Page.Home,
});
embed.render();
}Test the application embed�🔗
The last step is to test the embedded application.
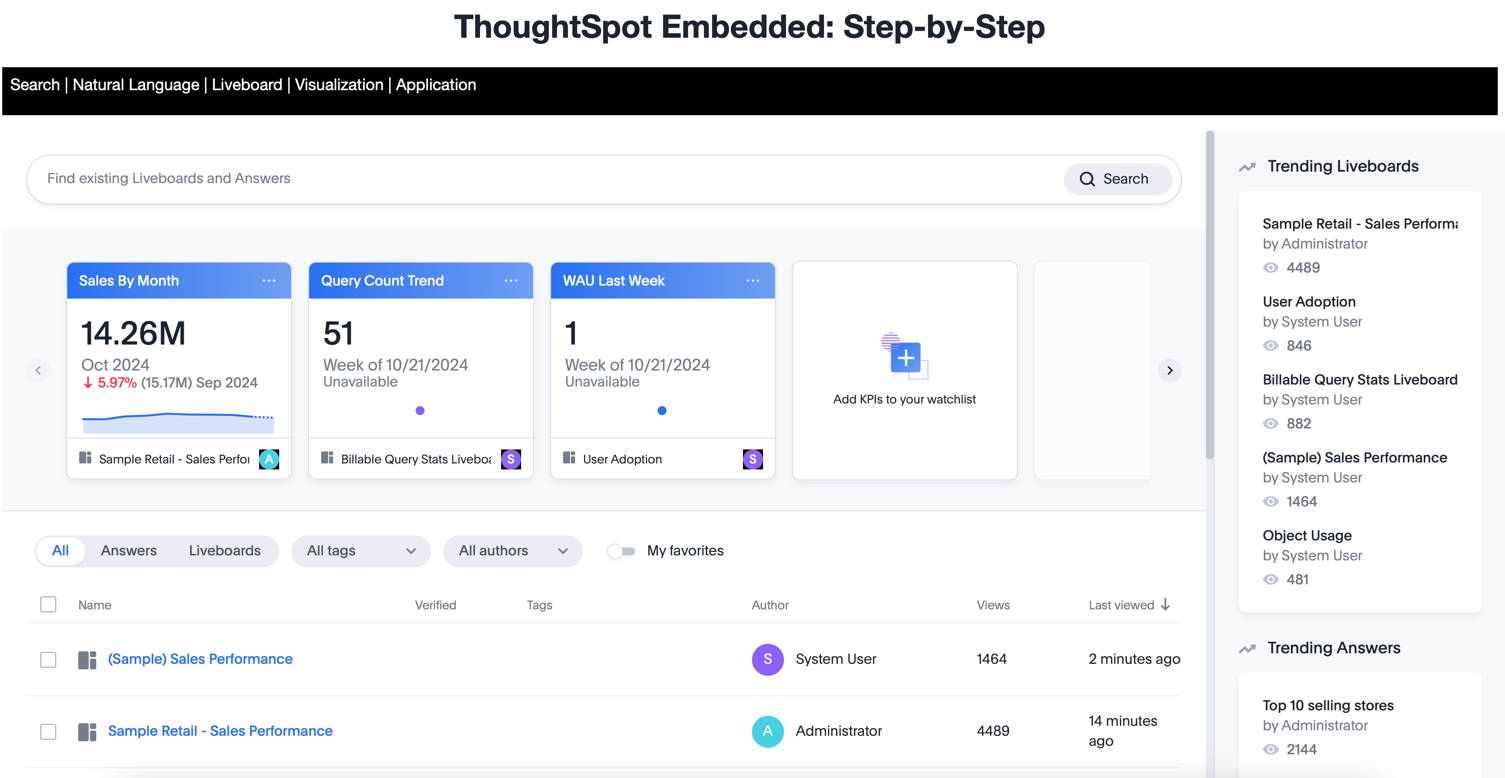
Refresh the application (with cache disabled), and then click the Application link.
You page will look like the following:

Activities🔗
-
Add the nav link and handler to your code
-
Import the
AppEmbedcomponent andPageenumeration -
Use the Playground to create the app embed component
-
Copy and paste the generated code (adding render()) into your application
-
Test the code
If you run into problems, you can look at the code in the src folder in this section.