<div id="div-nav-links">
  <ul id="ul-nav-links">
    <li id="search-link">Search</li>  <!-- lesson 05 -->
  </ul>
</div>Init and Search embedding
At this point, we are ready to start embedding ThoughtSpot content. In this lesson, we’ll initialize the SDK and embed a search page. To make it quick and easy, we’ll use the developer’s playground to generate the code, then update our HTML and JS files to use the generated code. This is the longest lesson in the tutorial, but once you complete it, you’ll understand how to embed other objects.
Pre-conditions🔗
If you’ve followed the steps in the previous sections, you should have a copy of the code and be able to run it and view the empty application in a web browser. If not, please revisit the previous lessons to get set up.
Add a nav link and function for the search🔗
First, add a nav link to run the search embed.
In the index.html file, add a new <li> for the search page.
The link needs an ID to add a listener.
Now, run the application, and you should see the Search link show up. It won’t do anything yet, but it’s always good to test code as you add functionality to find errors quickly.

Add a listener for the search link🔗
In tse.js, add the following line of code.
It adds a listener for the click event, so when the user clicks, it will call the onSearch function.
Put this code in the section that begins with Events for nav bar towards the bottom of the file.
document.getElementById('search-link').addEventListener('click', onSearch);
Next, add the onSearch function.
Right now, it only logs a comment to the console, but this confirms the function is being called.
const onSearch = () => {
  console.log('searching');
}
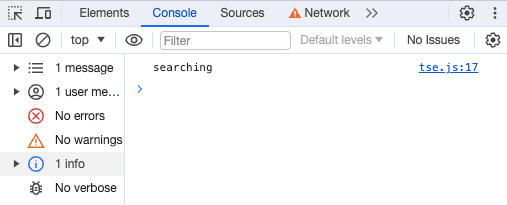
Refresh the application and click on the Search link.
You should see a message in the console window of the developer tools.
If not, check for errors.
You can also reference the example code (in the src folder).

Call init🔗
Before embedding the search, we need to initialize the SDK. Initializing the SDK tells it which ThoughtSpot instance to communicate with and the type of authentication. There are additional parameters you can pass, which you can read about in the documentation.
One useful parameter to consider is callPrefetch, which can speed up the first embed object’s load time by caching static content locally.
This will not have an effect if caching is disabled during development but can improve performance in production.
For a basic init call, add the following code to the loadApp function.
We also set the embed to display a message asking the user to select an option.
The variable tsURL refers to the constant defined earlier, for example, const tsURL = "https://myx.thoughtspot.cloud";.
The final version of loadApp should look like this:
const loadApp = () => {
  init({
    thoughtSpotHost: tsURL,
    authType: AuthType.None
  });

  document.getElementById("embed").innerHTML = "<p>Select an option from above.</p>";
}
Generate a search to embed🔗
To simplify the process of creating an embed, use the developer’s Playground. To access the Playground:
-
Log into ThoughtSpot as a developer.
-
Click on the Develop tab at the top of the screen.
-
Select the Playground option under Visual Embed SDK on the left.
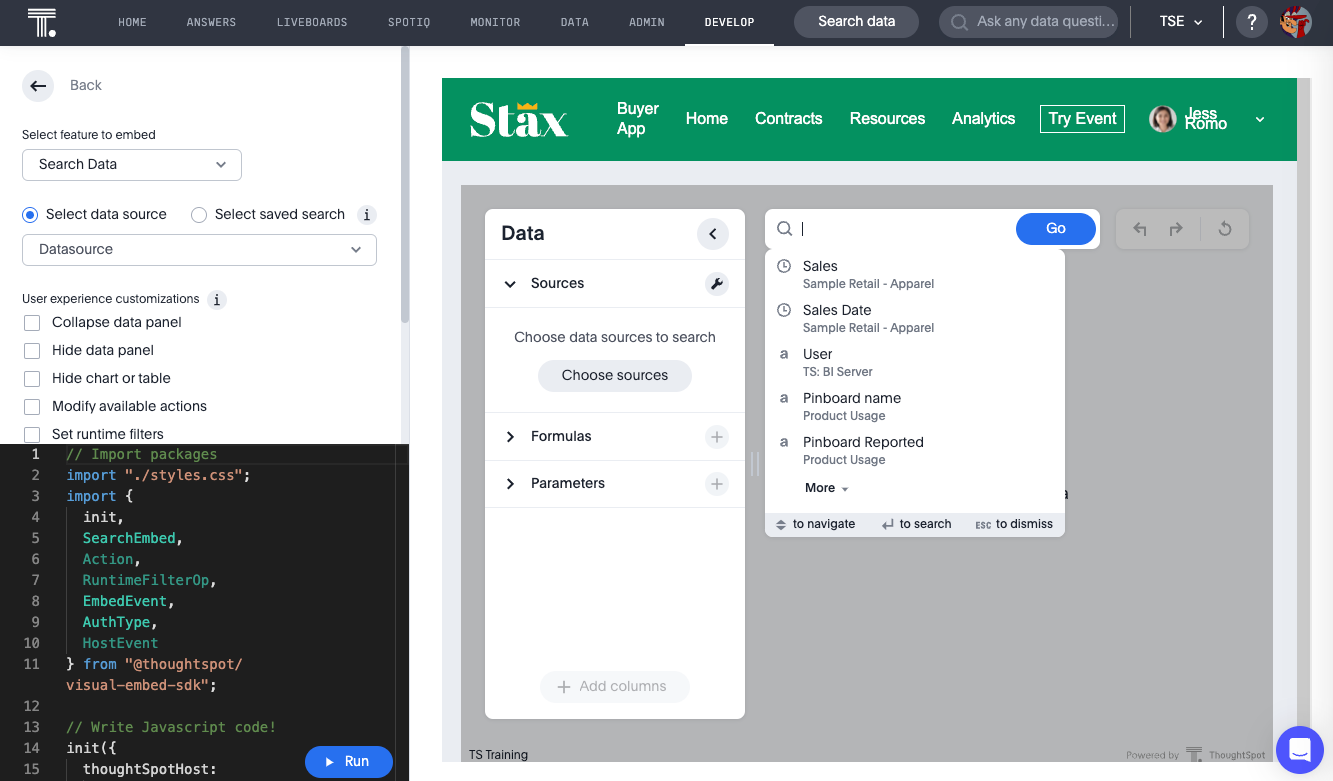
You’ll see a screen like the following, though with default values. We’ll set the values to create a search embed component.

The Playground is divided into three sections:
-
On the right: the running embed, showing how the embedded content will look.
-
On the top left: options for selecting components and their properties, starting with Search Data.
-
On the bottom left: the actual code for the embed component, which updates automatically as you make changes.
Follow these steps to create the search component we want to embed:
-
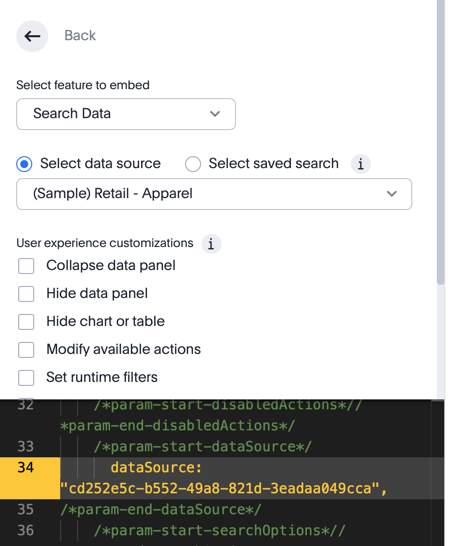
Select a data source from the dropdown. The code will update with the GUID for the data source. The Playground only supports one data source at a time.

-
Click on Collapse data panel to collapse the data panel in the embed.
-
Click on Add search tokens. This adds code for search options. The
searchTokenStringuses a TML query. Here’s an example:
searchOptions: {
  searchTokenString: '[sales] by [item type]', // Example TML query
  executeSearch: true,
},-
Modify available actions. You can disable, hide, or specify which actions are visible in the menu. Here’s an example of disabling the download action and hiding the share action:
disabledActions: [Action.Download],
disabledActionReason: "Permission required",
hiddenActions: [Action.Share],
Hit Run to see the results. If needed, adjust the settings.
Embed the search into the application🔗
Once the embed component is ready, we can add it to the onSearch function.
Every embed component requires two steps:
-
Create the embed object using
SearchEmbed,LiveboardEmbed, etc. -
Render the object (with optional event listeners).
Copy the generated code from the Playground into the onSearch function after the console.log statement.
Be sure to change the ID from #your-own-div to #embed to match the index.html file. Note that all IDs will
be unique to your environment.
const embed = new SearchEmbed("#embed", {
    frameParams: {},
    collapseDataSources: true,
    disabledActions: [Action.Download],
    disabledActionReason: "Permission required",
    hiddenActions: [Action.Share],
    dataSources: ["4d98d3f5-5c6a-44eb-82fb-d529ca20e31f"], // Your data source ID
    searchOptions: {
        searchTokenString: '[sales] [item type]',
        executeSearch: true,
    },
});
Next, render the component using this line of code:
embed.render();
The completed onSearch function should look like this:
const onSearch = () => {
  const embed = new SearchEmbed("#embed", {
    frameParams: {},
    collapseDataSources: true,
    disabledActions: [Action.Download],
    disabledActionReason: "Permission required",
    hiddenActions: [Action.Share],
    dataSources: ["4d98d3f5-5c6a-44eb-82fb-d529ca20e31f"], // Your data source ID
    searchOptions: {
      searchTokenString: "[sales] [item type]",
      executeSearch: true,
    },
  });

  embed.render();
};
Test search embed🔗
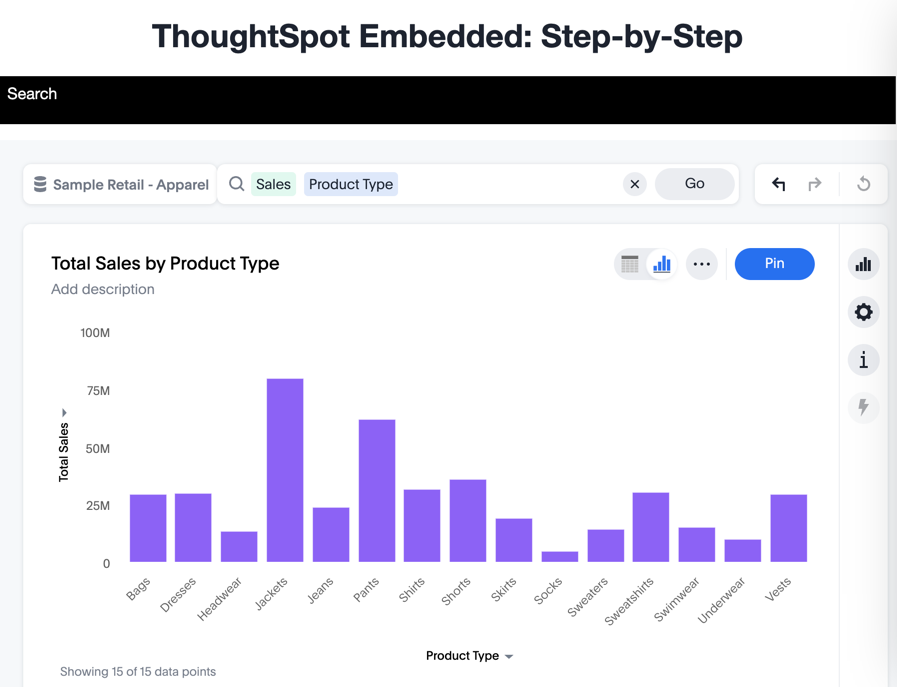
To test the search embed, refresh the application with the cache disabled, then click the Search link. You should see something similar to this:

Note on loading times🔗
The initial render may take a long time as the content is re-downloaded from ThoughtSpot.
This can be significantly improved by using callPrefetch: true in the init method.
However, with caching disabled during development, re-downloading will still occur.
Activities🔗
-
Add the nav link and handler to your code.
-
Import the
SearchEmbed,Action, andEmbedEventcomponents in the import section. -
Add the
initmethod. -
Use the Playground to create a search embed component.
-
Copy the search embed component into your code and modify the
DIVID. -
Add a
render()call. -
Test the code.
If you run into issues, you can reference the code in the src folder.