<div id="div-nav-links">
    <ul id="ul-nav-links">
    </ul>
</div>Start coding
Now that we’ve got everything set up, it’s time to start coding. In this lesson, we’ll create a copy of the code, take a look at the files, and then start the web server to make sure everything is working fine.
Pre-conditions🔗
Check if you have completed the activities listed in the previous lessons, the following steps in particular:
-
You have downloaded the GitHub source code as described in the Set up for the course lesson.
-
You have a ThoughtSpot account with Developer privileges
-
You have configured the security settings to enable embedding
At this point, you’ll need an editor such as an IDE or a text editor, ideally one that supports JavaScript and HTML formatting. The examples here use Visual Studio Code, a popular, free IDE, but any editor that can edit text files will work.
Make a copy of the code🔗
You can work directly in the code you downloaded from GitHub, but it’s usually better to create a copy, so you can always revert if needed The path you choose is entirely up to you.
Whichever approach you take, you should end up with a folder with the files shown below.

Review the main files🔗
We won’t dive into all the files yet.
The apis and images folders will be covered later in the course.
The three main files for the application are index.html, tse.css, and tse.js.
index.html🔗
This is a standard HTML page and will serve as the primary page for the application. We’ll embed everything into the resulting document object model (DOM). This file is used only to define the content of the application. The layout and dynamic portions will be handled in the CSS and JS files.
Key sections of this file include:
The first section of interest is the div for showing navigation links. We’ll add new links as we add functionality. These will be the only updates we make to the HTML file.
Perhaps the most important section is the div with the id="embed".
This div tells the ThoughtSpot Embedded SDK where to render content.
The ID can be any value, but it must match the ID we use when embedding. embed is common but not required.
Note that you can have more than one section for embedding.
<div id='embed'>
    <p>This content will be replaced by your embedded content.</p>
</div>
Lastly, we import the tse.js file as a JavaScript module.
We’re using the ES6 version of JavaScript, which supports modules.
This version is supported in all modern browsers.
<script src='tse.js' type='module'></script>tse.css🔗
The CSS file controls the look, feel, and layout of the application.
We’ll also use style modifications to show and hide items.
We won’t be modifying the CSS file as part of this project, but it’s worth looking at the definitions, especially the #embed class.
tse.js🔗
The final file to review is tse.js, which contains the application logic.
Initially, this file is sparse, but we’ll add functionality as we go.
The first section imports some components from the SDK.
The .es.js at the end indicates it’s the version for ES6. There’s also a plain vanilla version without the .es and an npm package for installation.
import {
  init,
  AuthType,
} from 'https://unpkg.com/@thoughtspot/visual-embed-sdk/dist/tsembed.es.js';
Next, we define the tsURL to indicate the server you’re connecting to.
It’s not technically required, but it avoids hard coding the value multiple times.
You should change this to reflect the ThoughtSpot server you are using.
const tsURL = "https://myx.thoughtspot.cloud";Finally, the loadApp function will be called when the window is loaded (see the last line of the file).
This is where we’ll put the initialization code for the application.
Start the web server🔗
After reviewing the relevant files, it’s time to start the web server to ensure everything works. You can use any web server, but in this course, we’ll use the Live Server extension described in Setting up for the course. You can start Live Server by clicking the button.

Once it starts, the button will change to live server running
 .
.
View the page in the browser🔗
Now, let’s confirm the page loads.
Typically, Live Server will automatically open the browser.
If not, open your web browser (examples are in Chrome) and navigate to http://localhost:8000.
You should see something like the figure below.

Open dev tools and disable the cache🔗
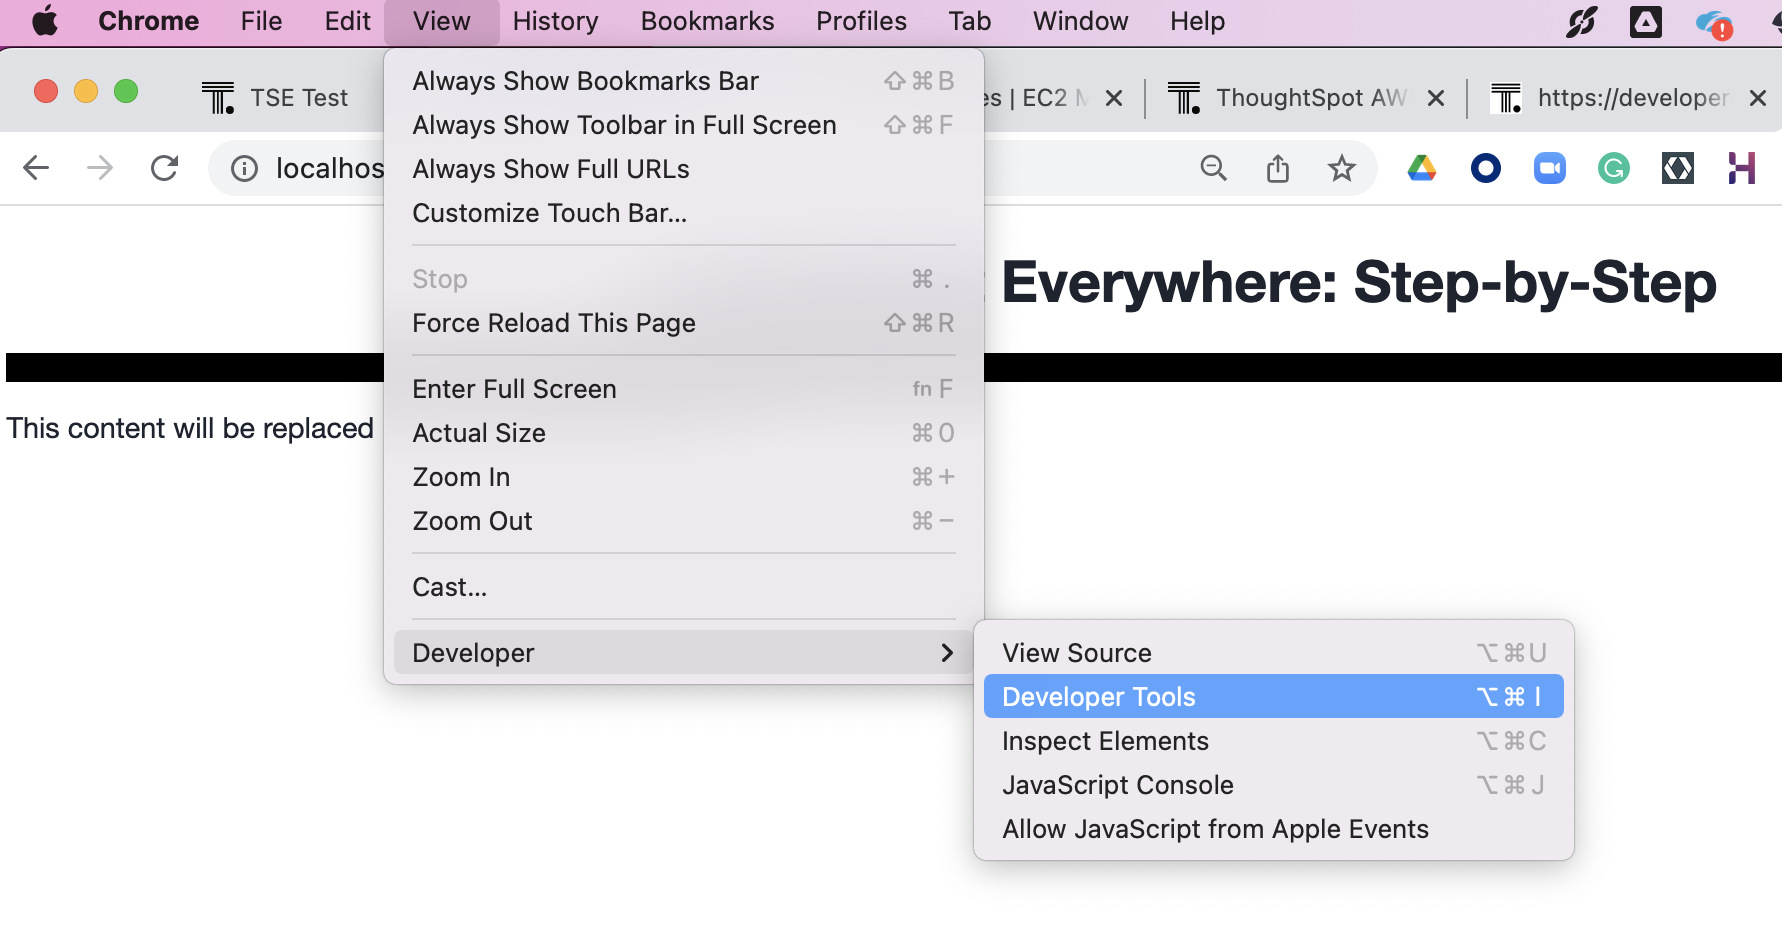
Next, open the developer tools in your browser. In your Chrome browser: Go to View → Developer → Developer Tools. You can also use shortcuts for different operating systems.

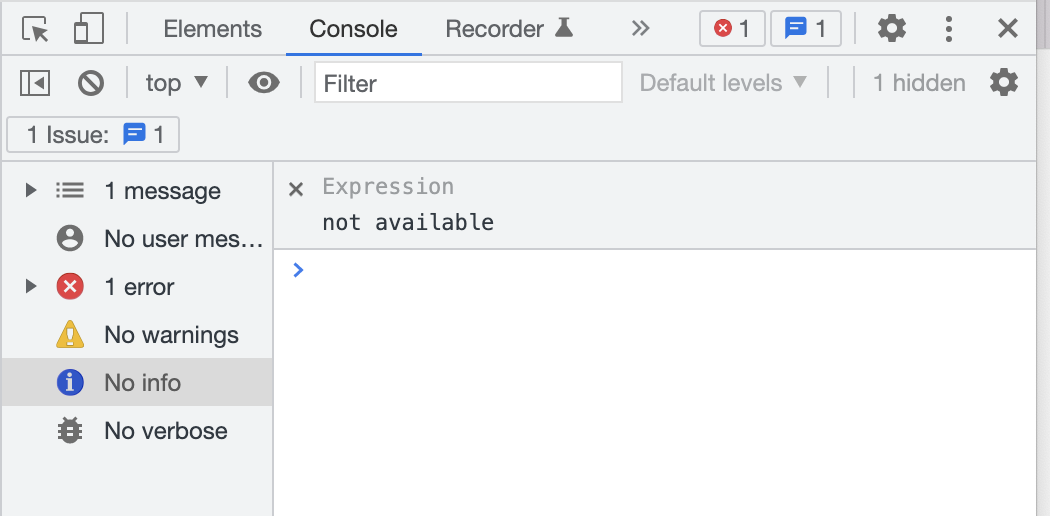
You should see a panel like the following, though it may open in a different tab. Usually, it opens in the Console view, where you can see errors, warnings, and general info messages.

Now, go to the Network tab and check the Disable cache box.
Failure to do this may cause your code updates not to appear.
Keep the developer tool window open, but you can make it smaller or move it as needed.

At this point, you’re ready to start adding content.