Push data to a Slack workspaceBeta
Table of Contents
With most businesses using Slack for communication and team collaboration, business users and analysts may want to deliver insights to their Slack workspace from the ThoughtSpot UI. ThoughtSpot makes it easier for your developers to automate the app integration workflow and enable seamless integration with your business apps. With app actions, users can now connect their Slack workspace with ThoughtSpot and push insights directly to their Slack channels.
Before you begin🔗
To integrate Slack workspaces with ThoughtSpot, you will need the following:
-
A ThoughtSpot user account with developer or admin privileges to create app actions
-
A ThoughtSpot user with a Slack account
-
A ThoughtSpot application instance with New Answer Experience enabled
-
A saved answer or Liveboard visualization
Integration workflow🔗
The Slack app integration workflow involves the following steps:
-
A developer or admin user creates an app action for Slack in the Developer portal.
This step sets Slack as a destination app.
-
A user clicks a Slack app action on a saved answer or Liveboard visualization, and invokes the workflow.
This step initiates the OAuth workflow to secure data transactions between the source and destination app.
-
ThoughtSpot requests access to the users' Slack workspace.
-
The user authorizes the request.
This step creates a pipeline between ThoughtSpot and the destination app for data exchange.
-
ThoughtSpot obtains a list of channels from the user’s Slack workspace.
-
The user selects a channel and clicks Send now.
-
ThoughtSpot pushes the answer data or insights from the visualization to the specified channel in the specified file format.
Get started🔗
The Slack app integration procedure involves the following steps:
Create an app action with Slack as the destination app🔗
To create an app action for Slack, complete the following steps:
-
Log in to ThoughtSpot with your admin or developer user credentials.
-
Go to Develop > Customizations > Custom actions.
-
Click Create action.
-
Enter a name for the action. For example, Send to Slack.
-
Select the App option and then select Slack from the Select app drop-down.
Note that the app action ID is generated automatically.
-
To add this action globally to all visualizations and saved answers, select On by default on all visualizations.
If you do not select this checkbox, the app action is set as Local and is not assigned to any visualization or saved answer.

-
To restrict action availability to specific user groups, click Show advanced availability settings, and select the groups.
-
Click Create action.
-
To view the custom action you just created, navigate to a visualization or saved answer page.
ImportantBy default, the global actions are added as a menu action in the More menu
 on all visualizations and saved answers. The local custom actions are not added as a clickable action on any Answer page or visualization. You can assign a local action to a specific visualization or saved Answer, or all new answers built from a specific worksheet and add it to a menu component.
Initiate the app action🔗
Before you begin, perform the following checks:
-
You have access to a Slack workspace.
-
The New Answer experience is enabled on your ThoughtSpot application instance.
-
The Slack app action is added to a visualization or saved answer on your instance.
|
Note
|
The Slack app authorization page opens as a pop-up. Make sure your web browser allows pop-ups from the ThoughtSpot application. |
To initiate a data push request to your Slack workspace, complete the following steps:
-
Go to a Liveboard visualization or saved answer page.
-
If you have created an answer from a new query, make sure you save the answer.
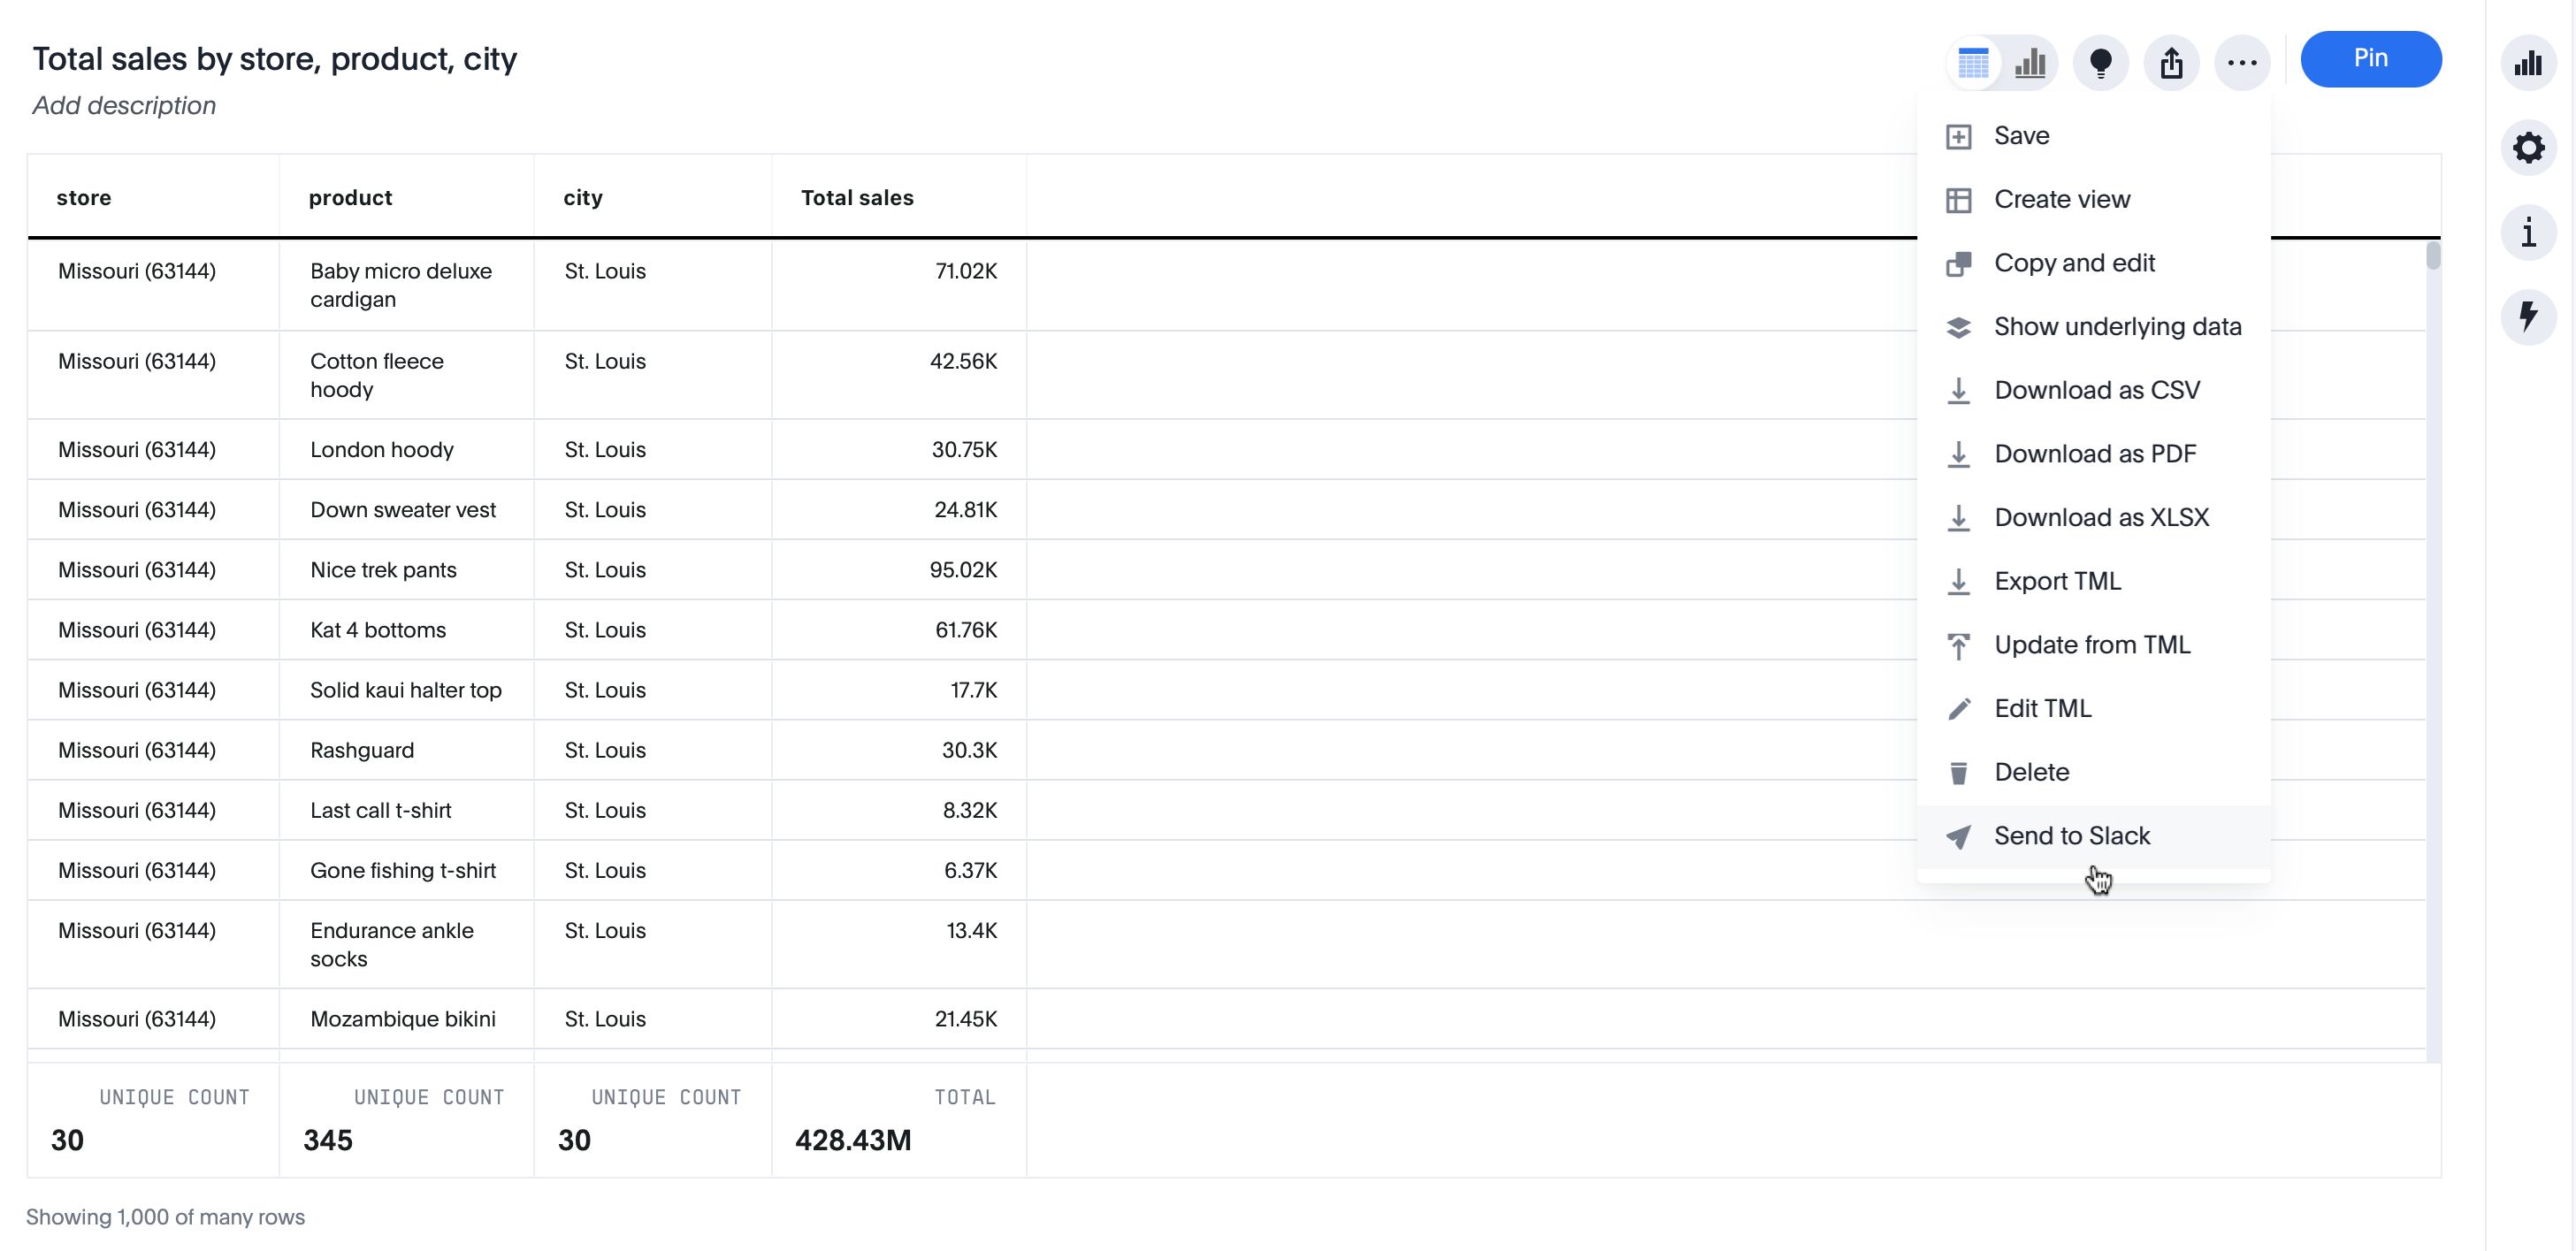
If the app action is set as a global action, the action will appear in the More menu
. If the action is set as a local app action, you must add it to your answer page. -
Click the action to initiate a data push request.
-
In the app authorization pop-up, select your Slack workspace.
- If the ThoughtSpot app is not installed in your Slack workspace
-
The app authorization page prompts you to install the app.
-
If you have admin rights to your workspace, complete the installation, and then retry the Slack action workflow.
-
If you don’t have access rights to install the app in your Slack workspace:
-
Click Submit to send a request to your workspace administrator. You can also add a message for your workspace administrator in the request.
Your Slack workspace administrator will receive a Slackbot notification to approve the request.
-
Close the app authorization pop-up and return to the ThoughtSpot UI.
-
Wait until your request is approved by the Slack workspace administrator. If your request is approved, you will receive a notification via email and Slackbot.
If your request is not approved, the app authorization pop-up displays the Your request is already submitted message when you re-initiate the Slack app action. Contact your Slack administrator and ensure that the ThoughtSpot app is installed in your workspace.
-
After you receive a notification from Slackbot or email about the request approval, re-initiate the data push workflow by clicking the app action in the ThoughtSpot UI.
-
-
- If the ThoughtSpot app is installed in your Slack workspace
-
ThoughtSpot requests access to your Slack workspace and opens the app authorization pop-up.
If you are not logged in to Slack workspace, the app authorization page prompts you to sign in. To continue with the integration, sign in with your credentials.
-
To authorize ThoughtSpot to send data, click Allow.
This step is required only if you are using the Slack integration action for the first time or when ThoughtSpot refreshes its OAuth access token.
-
Wait for ThoughtSpot to connect to your workspace and obtain a list of channels.
If the connection is successful, the app action dialog in the ThoughtSpot UI displays a list of Slack channels.

-
Select a channel from the Slack channel drop-down.
You can also search for a channel and then select it.
-
If required, modify the title of the data.
-
Specify the text to send in your Slack message.
-
Specify if the data must be sent as a PNG file or in the CSV format, or both.
NoteThoughtSpot does not support sending data in the PNG format if a chart or table does not include measures.
-
Click Send now.
View insights in your Slack workspace🔗
To view the insights sent to a Slack channel:
-
Go to your Slack workspace.
-
Click the channel to which you have sent the data.
-
Verify the data in the CSV and image files.
To view the source app details in your Slack workspace, go to Apps in your Slack app.