Using Lifecycle Events
1. Overview
Duration: 0:02:00
ThoughtSpot Everywhere makes it easy to embed analytics into any webapp via the Visual Embed SDK. In addition to embedding components, the SDK also provides support for analytics lifecycle events such as when a search term has changed, new data is loaded, or a component is rendered on the page. In this tutorial, you will learn the different types of lifecycle events and how to utilize them to make more dynamic interactions.
2. Getting Started
Duration: 0:10:00
To save some time, we are going to utilize the React Starter app available on CodeSpot. Follow the instructions to install it locally, then start the app with the following command.
$ npm start
Once the app is up and running, navigate to http://localhost:8000. If this is the first time loading the app, you will have to log into ThoughtSpot to see data. If you don’t already have an account, go ahead and sign up for a 30-day free trial. Once you received your credentials via the email verification, you can continue.
Once logged in, you will see the starter app with a hamburger menu on the left hand side. We will use the Liveboard and Search pages to add lifecycle events. Feel free to tap on each and get an idea of what the embedded components look and function like.
3. Event Types
Duration: 0:03:00
Lifecycle events fall into two categories:
1. EmbedEvents - EmbedEvents occur when the state of a component changes or is interacted with. This may be something like the component is rendered, new data is loaded, or a user clicks on a visualization
2. HostEvents - HostEvents are hooks to allow the developer to programmatically change or update an embedded component. For example, you may want to change the search term used, or enable/disable features
4. Embed Events
Duration: 0:20:00
As mentioned above, EmbedEvents occur when the state of a component changes or is interacted with. To demonstrate, we will add a spinning animation to the existing liveboard page. This animation will display while the liveboard is fetching data and rendering. Once the liveboard has finished rendering, we will hide the animation by listening for an embed event, onLiveboardRendered
Add Antd library
To add the spinning animation, we will use a third-party library called antd. Antd has many great assets, styles, and components, one of these is a spinner, which is exactly what we need. From the command line, ensure you are in the quickstarts/react-starter-app folder, and add antd to your project:
$ npm install antd
Update liveboard.js
Next, go ahead and open the quickstarts/react-starter-app in your favorite IDE. Throughout this tutorial, we will be using VSCode to demonstrate, but feel free to use the one you prefer.
Negative : If you are using VSCode and receive a syntax error message indicating that error types can only be used in TypeScript (.ts) files, please follow the steps listed here. (and don’t forget to reload your IDE afterwards.
From within your IDE, open src/components/liveboard.js. This file is where we embed the Liveboard component. Currently, the page does very little beyond embedding the component. Let’s start by adding the required imports for both antd and to start listening for ThoughtSpot events. At the top of your file, import the following:
import React from 'react'
import { LiveboardEmbed, useEmbedRef } from "@thoughtspot/visual-embed-sdk/react";
import { EmbedEvent, Action  } from "@thoughtspot/visual-embed-sdk";
import { Spin } from "antd";
import 'antd/es/spin/style/css';
To make everything work, we will take advantage of the React framework’s state mechanism via useState to keep track of when we should show or hide the spinner. Within the Liveboard function, add the following line near the top:
const [isLoading, setIsLoading] = React.useState(true);
We will also add a handle to the Liveboard component using the embedRef handle. embedRef is more useful for working with Hosted Events, which we will cover shortly, but it is a good practice to get used to always setting the reference in your components. To get started, add the following code directly before the useState call:
const embedRef = useEmbedRef();
Next, we will update the current LiveboardEmbed component with event handler functions. Scroll down until you see the ThoughtSpot component.
<LiveboardEmbed frameParams={{height: "80vw"}}
                liveboardId={"YOUR-ID-HERE"}/>
And change it to:
<LiveboardEmbed frameParams={{height: "80vw"}}
                   liveboardId={"YOUR-ID-HERE"}
                   ref={embedRef}
                   onLoad={onLoad}
                   onLiveboardRendered={onRendered}
                   onDataChanged={onDataChanged}
                   onVizDoubleClicked={onVizDoubleClicked}
                   />
There is a lot going on here. First, we added a hook to the embedReference via the ref attribute. Then, we’ve included two lifecycle events onLoad and onLiveboardRendered. We are going to use these events to show and hide our spinner.
Add Lifecycle constants to handle callbacks
Currently the lifecycle event attributes point to constants which do not exist. Let’s go ahead and create these now. You can add them directly after the useState call. Now, when the ThoughtSpot platform fires the onLiveboardRendered event we will setIsLoading to false
<const onLoad = (e) => {
       console.log("Loading liveboard");
   };
   const onRendered = (e) => {
       console.log("Loading now rendered")
       setIsLoading(false)
   };
Show / Hide component
All that is left to do is to add some logic to show the spinner or the Liveboard component based on the value of isLoading. We can do this with a quick boolean check:
{isLoading ? (
               <div className="embedSpinner">
                   <Spin size="large" />
               </div>
               ) : (
               ""
               )}
                   <LiveboardEmbed frameParams={{height: "80vw"}}
                   liveboardId={"d084c256-e284-4fc4-b80c-111cb606449a"}
                   ref={embedRef}
                   onLoad={onLoad}
                   onLiveboardRendered={onRendered}
                   />
Try it out
It’s time to try everything out. If it is not already running, start up your app and navigate to http://localhost:8000. Before opening the menu and tapping on Liveboard, you might want to open the Javascript console in your browser ( Chrome: View > Developer. Safari: Develop > Show JavaScript console). We added two lines on debug in each of our render functions. These are handy to watch the output and see how it aligns with lifecycle events.
With your Javascript console open, navigate to liveboards, and you should see the spinner appear, then a line in the console to indicate when the rendering of the component is complete before being presented with the rendered liveboard.
5. Host Events
Duration: 0:20:00
So far we have seen how to add hooks to lifecycle events of ThoughtSpot components. Now, we want to see how to interact with the components programmatically via Host Events. To quickly recap, Host Events are where you want to programmatically interact with a ThoughtSpot component. You can think of Host Events as you talking to the component vs. Embed Events as the component talking to you.
We will use the same react-starter-project, but this time work on search.js. We will perform two operations, firstly change the search terms from code, and secondly enable and disable actions a user can perform.
Change search terms
Within your IDE, open /components/search.js and add the following imports:
import React from 'react'
import { SearchEmbed, useEmbedRef } from '@thoughtspot/visual-embed-sdk/react';
import { EmbedEvent, Action, HostEvent } from "@thoughtspot/visual-embed-sdk";
import { Layout, Button, Switch } from "antd";
const { Header, Content } = Layout;
Then, define a handle to the embedded component, by adding the following line to the top of the search function:
const embedRef = useEmbedRef();
Add changeSearch function
Now that we have the handle, go ahead and add a changeSearch function after the embedRef definition. This function will use the embedRef to trigger a HostEvent. We are going to use HostEvent.Search to change search terms. HostEvent has a number of useful event types in addition to Search, worth checking out.
const changeSearch = () => {
embedRef.current.trigger(HostEvent.Search, {
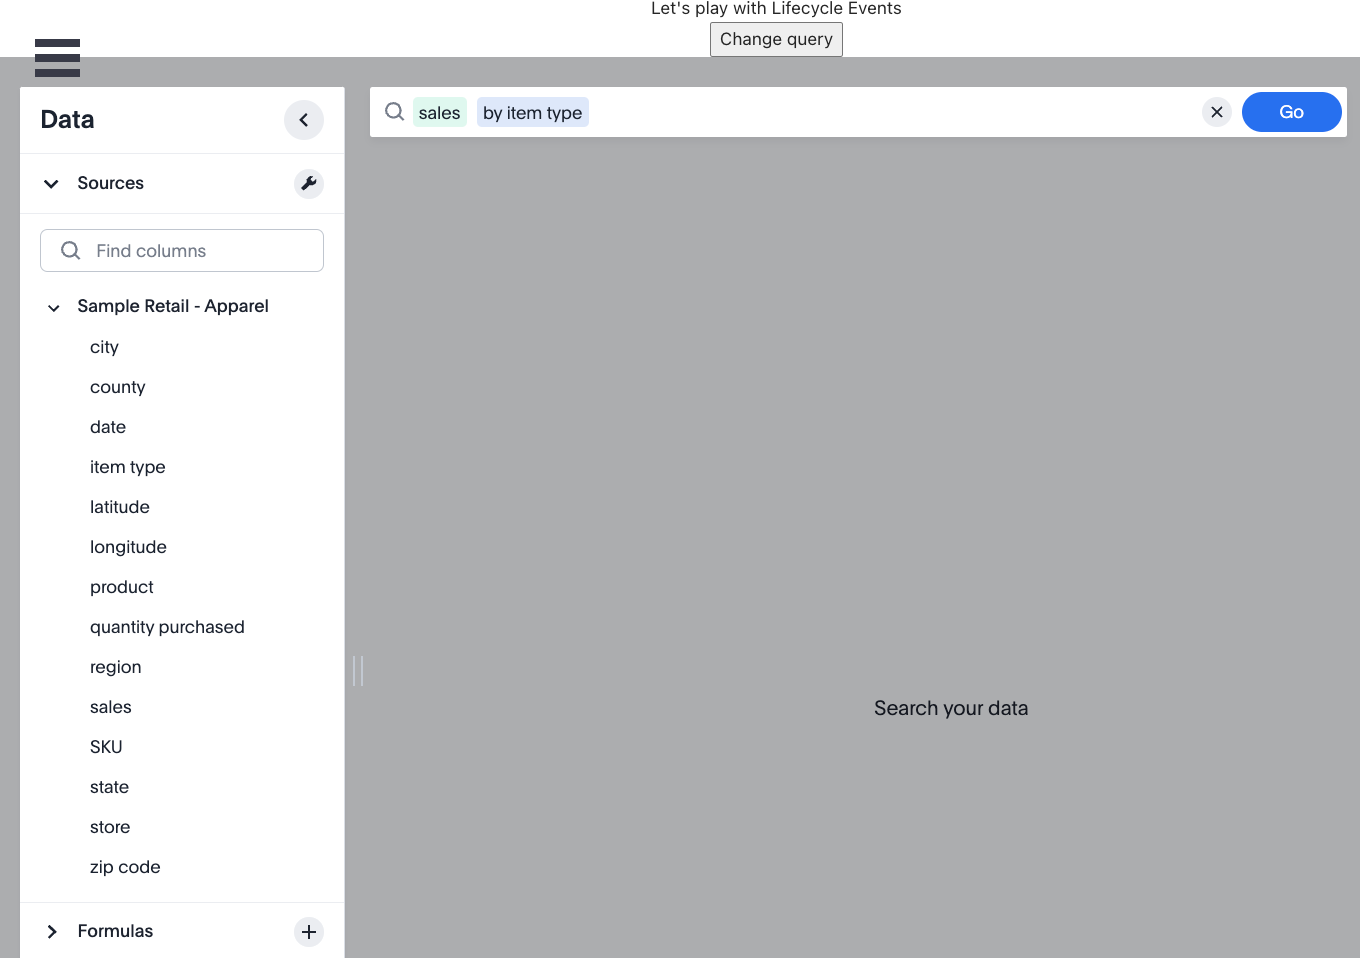
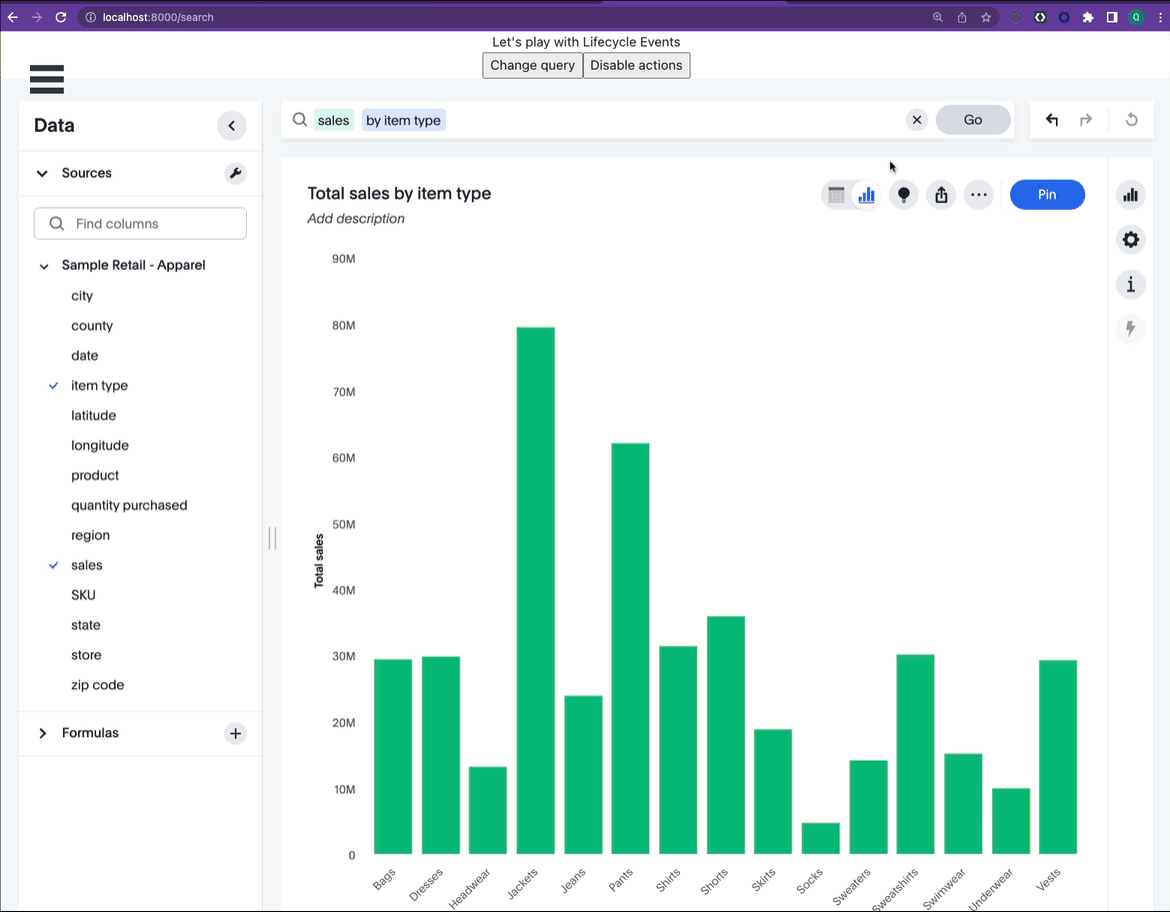
searchQuery: "[sales] by [item type]",
});
};
As you can see in the function above, HostEvent.Search takes a search Query parameter. This is extremely useful when you want to pass in dynamic search terms. For example, you could pass in a sales reps region dynamically when the page loads, or set a default term based on the time of day.
Call changeSearch
All that is left to do is add some functionality for us to call the changeSearch function. For our example, let’s connect it to a button. Go ahead and add a button into the
<Button type="primary" onClick={changeSearch}>Change query</Button>
Try it out
Just like before, let’s try out our changes. If your app is not already running, start up your app and navigate to http://localhost:8000. Then, tap on the hamburger menu and choose Search. You should now see the embedded search component, plus a new button, Change query, at the top of the page. Go ahead and tap the button to see your search terms added to the embedded search box.
6. Enabling/Disabling actions with host events
Duration: 0:10:00
Now that you have a good understanding of how to work with Host Events, another very common customer request is to dynamically enable or disable actions based on the user. This is pretty straightforward using the disableActions attribute of the ThoughtSpot components.
Create ActionSets
Let’s start by creating two sets of action constants: one set for default, and another that we will use to enable/disable. Go ahead and add these at the top of your file, directly below the imports, but outside of the search function.
export const actionSet = [
 Action.Subscription,
 Action.Share,
 Action.Save,
 Action.Edit,
 Action.EditTitle,
 Action.Explore,
 Action.Pin,
 Action.SpotIQAnalyze,
 Action.DrillDown
];

export const defaultActionSet = [
 Action.Subscription,
];
Taking a look at the code, you can see we are taking advantage of the Action enumeration. This enumeration contains all of the actions a user can perform on ThoughtSpot elements such as search and Liveboards. For our example, we’ve included the common ones for search.
Set Disabled Actions
Next, we need to store the state of whether actions are enabled or disabled and provide accessor functions to change it. Add the following inside the search function.
const [disabledActions, setDisabledActions] = React.useState([]);

     const onToggleDisabledActions = (checked: boolean) => {
         if (checked) {
           setDisabledActions([]);
         } else {
           setDisabledActions(actionSet);
         }
       };
We also need to update the Search component to accept an enumeration as well as provide a reason why elements are disabled. The disabled reason will appear in a tooltip when a user hovers over a disabled element. Update your search component so it looks something like this. You will notice that we are using the disabledActions enumeration we previously put into session state. Remember, your datasource-id will be different from the example below
<SearchEmbed
               frameParams={{hideDataSources: "true", height: "80vw"}}
               dataSources={"cd252e5c-b552-49a8-821d-3eadaa049cca"}
               ref={embedRef}
               disabledActions={disabledActions}
               disabledActionReason="Your account is restricted."
/>
Set Disabled Actions
All that is left is to add a toggle to our sample app to enable and disable actions. Since we already installed antd in the Embed Event section, we can take advantage of the Switch component. Go ahead and add the following to the header section of your page, directly after the button for setting search terms:
<Switch type="primary"
             checkedChildren="Disable actions"
             unCheckedChildren="Enable actions"
             defaultChecked
             onChange={onToggleDisabledActions}
           />
Try it out
Save your changes, and check out all of your hard work. . If your app is not already running, start up your app and navigate to http://localhost:8000. Now when you go to the Search page, first perform a search by either entering a search term in the text box or by tapping the “Change query” button, then tap Go.
Once the results are rendered, hover over the pin button, or the icons to the left of the pin button. You will notice they are enabled, with context sensitive tooltips.
Now, tap the Disable actions button, and enter a search term. This time, you will see the actions are disabled with our disabled message replacing the previous contextual tooltips.
7. Summary
Duration: 0:03:00
Throughout this tutorial you learned the difference between Host events and Embed Events in ThoughtSpot Everywhere, and when to use them. With this understanding, you can quickly create more engaging embedded analytics, and support common customer requests.